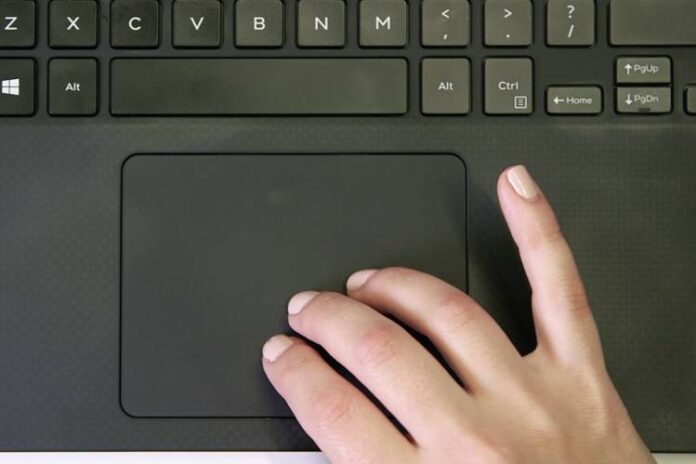
If you have a Dell XPS notebook, you may want to know how to disable the touchpad. The touchpad is a great feature, but it can be annoying if you accidentally brush it while you’re typing. Fortunately, there’s an easy way to disable the touchpad on Dell XPS Notebook, so that you don’t have to worry about it anymore.
Guide to Enable or Disable the Touchpad on a Dell XPS Notebook
In this article, we will guide you on how to enable or disable the touchpad. The steps are pretty simple and easy to follow.
1.First, you need to go to the “Control Panel”. To do this, you can either search for it in the start menu or simply click on the icon in the taskbar.
2.Once you’re in the Control Panel, double click on mouse icon to open the “Mouse Properties” window.
3.Now, click on the “Device Settings” tab and then click on the touchpad device to select it.
4.After that, you need to click on the “Enable” or “Disable” button depending on your preference.
5.Finally, click on the “Apply” button to save the changes.
We hope that this article was helpful and you were able to enable or disable the touchpad on your Dell XPS notebook. If you have any further questions, feel free to ask us in the comments section below.
This is how you can easily disable the touchpad. Following these simple steps, you can prevent the touchpad from accidentally being activated while you’re typing. Just remember to re-enable it when you want to use it again.


