

USB flash drives have become a staple in the world of digital storage. They are known for their convenience, affordability, speedy data transfer, and compatibility with various laptop and desktop ports. Professionals, educators, photographers, and students rely heavily on these devices to store a wide range of data, including work files, music, photos, videos, emails, and more from their computers, smartphones, cameras, and other handheld devices.
However, just like any other data storage method, USB flash drives are not immune to the risk of data loss. In this article, we’ll provide an in-depth guide on how to recover data from USB flash drives. You’ll find step-by-step tutorials that will walk you through the process of retrieving lost or deleted files from your USB drive. Additionally, we’ll also address common issues that can arise when using USB flash drives and provide solutions to help you overcome them.
Part 1: Three Effective Methods for USB Flash Drive Data Recovery
1.1. Using USB Flash Drive Recovery Software – A Simple Method
If you suspect data loss on your USB flash drive, act promptly. Cease using it immediately, as continued file saving or modifications can diminish data recovery prospects. We recommend professional USB recovery software for its user-friendliness, enabling you to preview and select recoverable files.
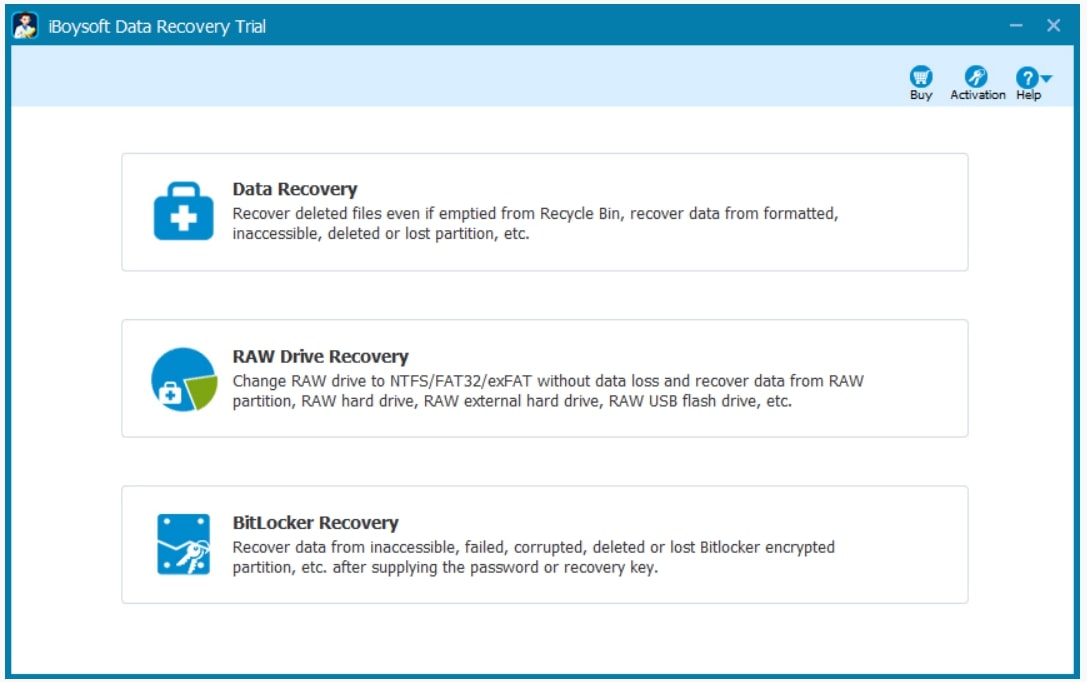
This guide will demonstrate how to use iBoysoft Data Recovery for USB flash drive file recovery. It supports various file types, including Microsoft Word documents, Excel files, images, photos, PSDs, emails, videos, and more. This versatile software is adept at recovering data from formatted, corrupted, inaccessible, and RAW USB flash drives. It’s also compatible with Windows PCs and other storage devices like external hard drives, memory cards, digital cameras, and SD cards.
Related blog: 8 Free SD Card Data Recovery Software
Follow these steps to recover lost or deleted files from your USB flash drive using iBoysoft Data Recovery:
Step 1: Insert the USB flash drive into a rectangular USB port on your computer or laptop.
Step 2: Download iBoysoft Data Recovery on your PC, follow the installation wizard to install the software, and launch it (check out the example image below).
Step 3: Select the USB flash drive where data loss is suspected and click “Next” to initiate the file scanning process. You can monitor the scanning progress, elapsed time, and remaining time in the progress bar.

Step 4: After the scanning is complete, you’ll see a list of detected files on the left sidebar. You can choose any folder to view its contents. (Pro Tip: If you can’t find your desired files in the quick scan mode, return to the home window and click “Deep scan” to perform a more thorough scan of your USB flash drive.)
Step 5: Examine the recoverable files, double-click each file to preview it (files that can be previewed in the software can usually be recovered), and select all the files you want to recover. Click the “Recover” button at the bottom to retrieve them.
Important Note: Avoid saving the recovered files to the same USB flash drive you are recovering from. Store them in a new, secure location such as your computer or an external hard drive.
1.2. Utilize Command Prompt for Flash Drive File Recovery – Requires Advanced Knowledge
If you prefer not to download additional tools for flash drive file recovery, you can utilize the Windows Command Prompt (CMD). Advanced users can follow these steps to recover files using CMD after connecting the USB flash drive to their computer.
Step 1. Open a command prompt: Launch Windows Explorer by pressing Windows + R and type CMD in the search box.
Step 2. Enter the command: Type ‘chkdsk “drive letter”: /f’ and press Enter (Note: Replace “drive letter” with the actual drive letter of your USB flash drive; for instance, ‘chkdsk E: /f’ or ‘chkdsk F: /f ‘ depending on your situation).
Step 3. Use the following command to recover lost files from your flash drive: ‘ATTRIB -H -R -S /S /D “drive letter”:*.*‘ (check out the above image)
Pro Tip: Ensure that you use the correct drive letter for your USB flash drive in the command line.
Once your computer successfully recovers the files, it will create a new folder on your USB flash drive to store the recovered data. Please note that the newly recovered files may be in CHK format and require renaming to their proper suffix before they can be used.
1.3. Recovering Files by Restoring Previous Versions – If You Have a Backup on the Computer
For Windows users, the Previous Versions feature is a valuable tool for recovering data that may have become corrupted or deleted. As long as you’ve enabled this feature before experiencing data loss, you can follow these steps to restore previous versions of your important files on your USB flash drive.
Step 1. Insert the USB drive into a USB port on your Windows desktop or laptop.
Step 2. Open “This PC” or “This Computer,” then right-click on the USB flash drive that holds the files or folders you want to recover and choose “Properties.”
Step 3. Navigate to the “Previous Versions” tab, select the version you wish to restore (usually the most recent one), then click “Open” to confirm it’s the correct file, and finally, click “Restore.”

Part 2: Common USB Flash Drive Problems That You Might Encounter and How to Solve Them
Problem A: USB Drive Not Recognized in Windows
When your USB drive is not detected in File Explorer but is present in Disk Management, potential resolutions include updating or reinstalling the USB driver, drive letter reassignment, reformatting, or utilizing a disk repair utility. If the issue persists in both locations, troubleshooting steps encompass changing USB ports, trying on a different computer, initiating a system restart, or enabling the drive through BIOS configuration.
Problem B: “Disk Not Formatted” Error
In the case of an empty USB drive, it is possible to initiate a direct formatting procedure. However, when the drive contains crucial data, it is advisable to follow the previously outlined steps for data recovery from a formatted USB flash drive.
Problem C: RAW, Inaccessible, or Corrupted USB Drive
If there are no critical data on the RAW USB drive, you have the option to employ Windows Disk Management, Command Prompt, or File Explorer for the process of formatting and converting it to either the FAT32 or NTFS file system. However, it is essential to be aware that this procedure will result in data loss. If your objective is to retain the existing files, it is advisable to utilize specialized recovery tools like iBoysoft Data Recovery or equivalent software to retrieve your data to a secure location prior to initiating the conversion of the RAW flash drive to either the FAT32 or NTFS file system.
